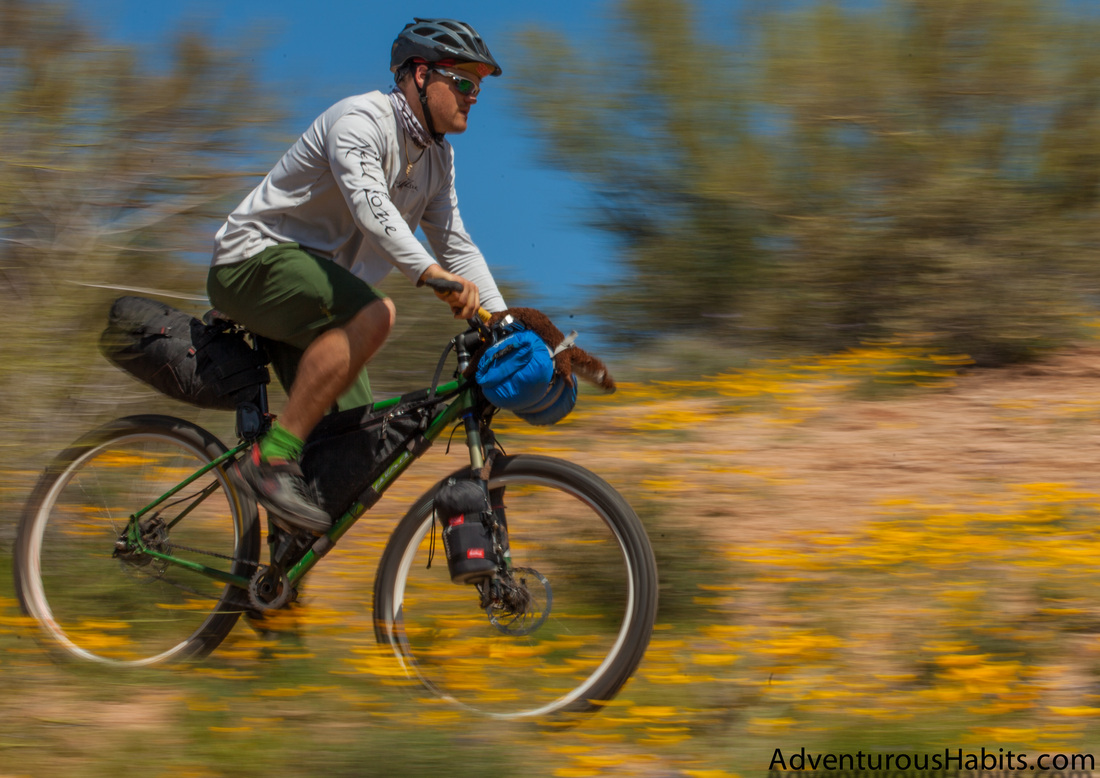
Fully Loaded for a Bikepacking Tour on the Gila River Ramble in AZ.
Spring is in the air, and that can only mean one thing: it's bikepacking season. Here, I will provide 4 options for carrying gear on your first trip without breaking the bank too much.
But first: what is bikepacking, you may ask? Well, it is basically backpacking, but on a bike. Because you are riding, you can cover much more ground (and have a lot more high-speed fun!). Find any ride-able trails in your neck of the woods, load up your mountain bike with some camping gear, and head off into the wilderness for a few nights of escaping the modern comfort zone and enjoying the world! Check out this Fall Tour I did in Flagstaff!
This article seeks to introduce you to bikepacking should you have never done it before. The finer points of bikepacking and tips for packing lighter, building your bike better, and making your trip more successful are found in the next article, Advanced Bikepacking Skills and Tools.
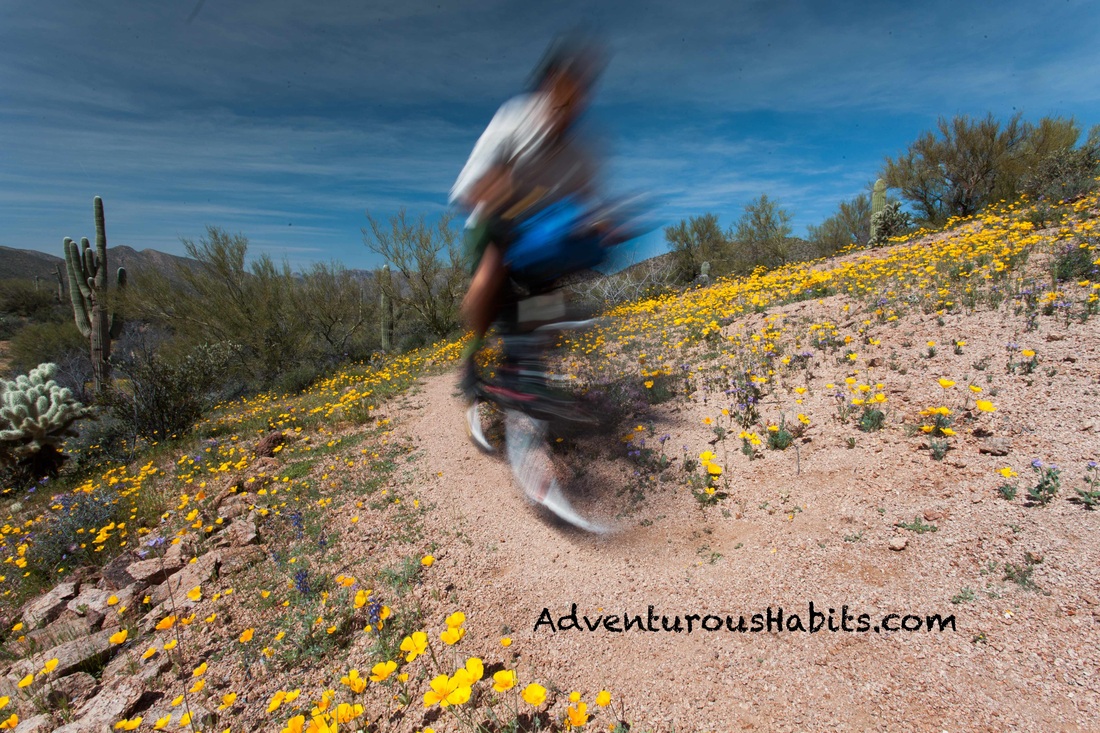
The Gila River Ramble bikepacking route in springtime - like paradise.
Before you begin, make sure you have a bike capable of handling trail conditions. It doesn't have to be fancy, have suspension, or even brakes (just kidding, you are going to want brakes). It does need to have semi-thick tires - don't go taking a road bike with 19mm tires on a bikepacking trip! I would advise at least 40mm cyclocross style tires, but if you have a mountain bike at all it will have thick enough tires.
After you have checked to make sure you do indeed own a working bike, the next step is finding a trail that you like and that suits you. The beauty of bikepacking is that you can ride on either the road or the trails, so connecting trails via a section of road is no problem. You can't say the opposite of that for a road tour! When I am searching for trails, I use several resources:
After your first trip, you can get very fancy in terms of what types of gear you use to carry your equipment. For this trip, get creative! Here are some ideas:
1. Strap your sleeping bag or pad onto the front of your handlebars using a bit of webbing (the non-tubular kind) and buckles from your local sports store.
You can use a dry bag on the outside of the item to ensure that it stays compact and dry. In the past, I have even connected the top pouch of my backpack to the handlebars over my dry bag - this allows me to have an easy-access compartment right on top of my bike and I rather enjoy the setup.
After you have checked to make sure you do indeed own a working bike, the next step is finding a trail that you like and that suits you. The beauty of bikepacking is that you can ride on either the road or the trails, so connecting trails via a section of road is no problem. You can't say the opposite of that for a road tour! When I am searching for trails, I use several resources:
- Bikepacking.net - Great resource for epic routes
- Singletrack.com - They often blog about cool routes
- Bikeovernights.org - More road stuff, but a few good singletrack rides in there!
- Local trail maps - Creating your own route is so satisfying!
After your first trip, you can get very fancy in terms of what types of gear you use to carry your equipment. For this trip, get creative! Here are some ideas:
1. Strap your sleeping bag or pad onto the front of your handlebars using a bit of webbing (the non-tubular kind) and buckles from your local sports store.
You can use a dry bag on the outside of the item to ensure that it stays compact and dry. In the past, I have even connected the top pouch of my backpack to the handlebars over my dry bag - this allows me to have an easy-access compartment right on top of my bike and I rather enjoy the setup.
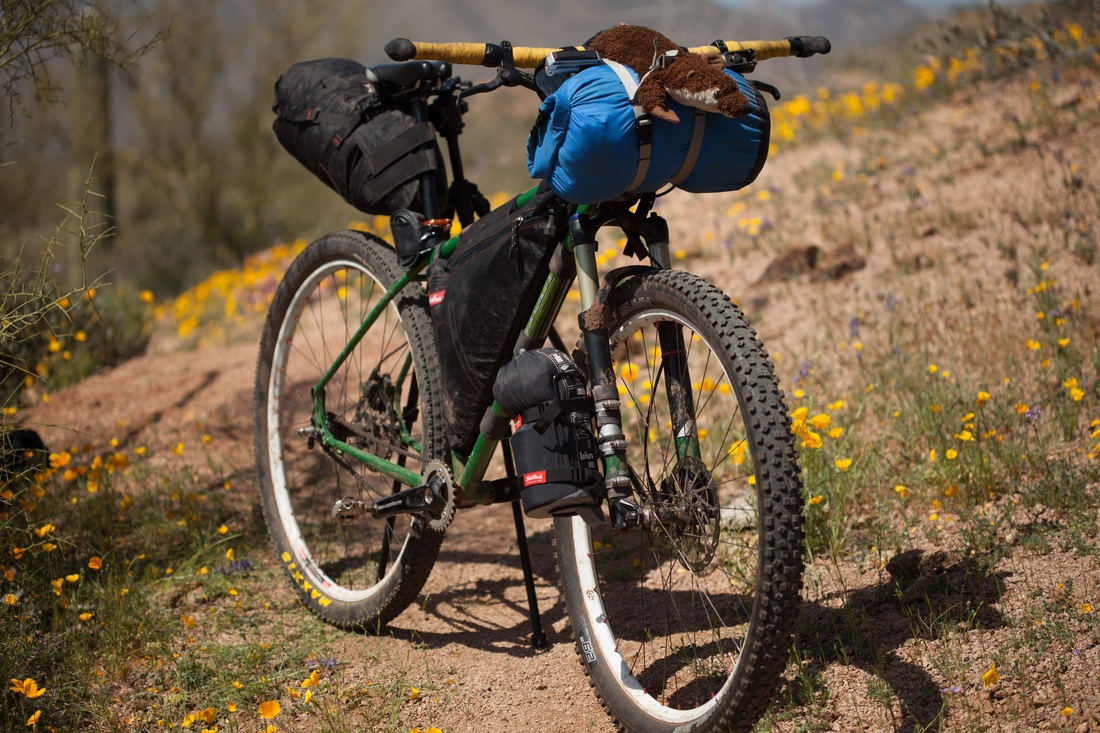
The entire bikepacking setup, my spirit animal Springs included.
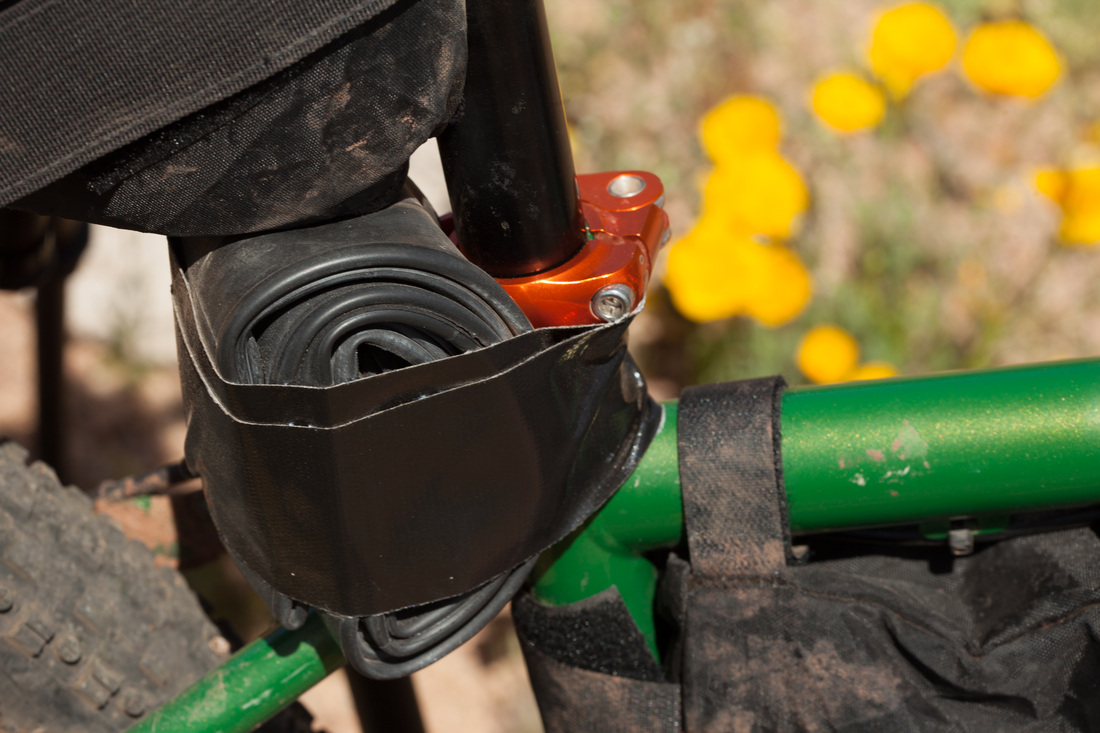
2. Another great tool available for a fairly cheap price is the Salsa Anything Cage. These cages can carry small items up to four pounds - a small cook set, food, a pad, or a small shelter. Salsa actually makes forks that support these cages, but you can also build your own setup on your current mountain bike by cutting square sections of old tubes that are no longer in use and hose clamps. These sections of tube should be an appropriate size to wrap around your fork and allow a hose clamp to wrap around it and tighten down on the sections of the cage that allow for this action. The rubber tube keeps the anything cage from scratching your fork and from moving.
It is important to note that YOU CANNOT PUT TOO MUCH WEIGHT ON THE CAGE if you are doing this. Three pounds should be about the maximum, as I do know people who have had the cage move and enter their front spokes at high speed, causing them to crash. So, use good judgement when creating these and use them at your own risk.
It is important to note that YOU CANNOT PUT TOO MUCH WEIGHT ON THE CAGE if you are doing this. Three pounds should be about the maximum, as I do know people who have had the cage move and enter their front spokes at high speed, causing them to crash. So, use good judgement when creating these and use them at your own risk.
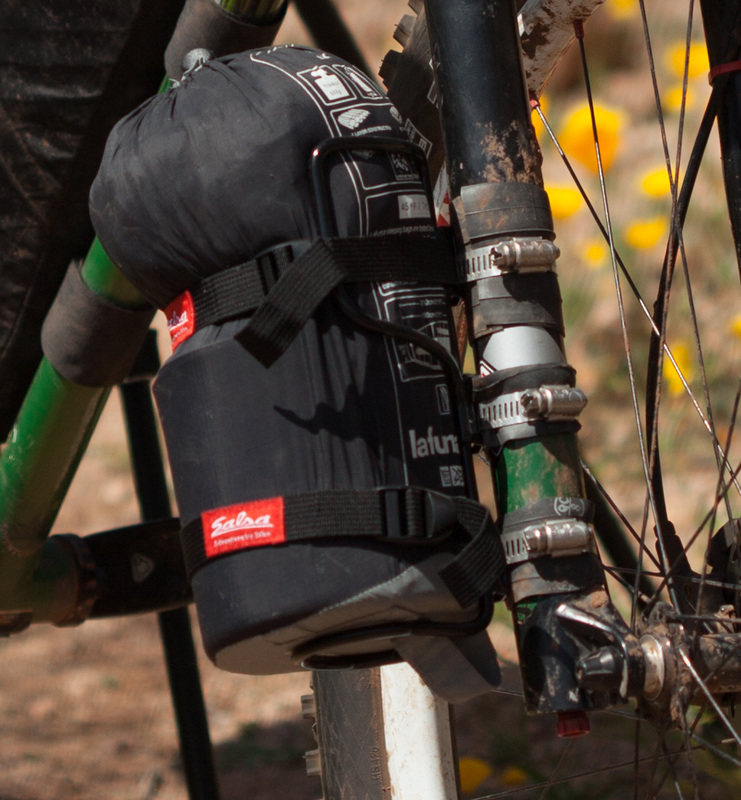
Salsa Anything Cage attached to a regular suspension fork.
3. One of the pieces of equipment that is totally worth buying, even if you mostly do road touring as opposed to bikepacking, is the Revelate Designs Viscacha Seat Bag. Seriously, this thing is expensive but awesome, and I use it now while road touring as well as bikepacking.
4. Finally, use the ultimate tool: Duct Tape. Get stuff on anywhere you can that is out of the way!
4. Finally, use the ultimate tool: Duct Tape. Get stuff on anywhere you can that is out of the way!
Get creative to make everything fit on your bikepacking setup!
So what are you waiting for? Get out there and do something awesome!